Table of Contents
ToggleWhen your Shark vacuum stops picking up debris or starts making odd noises, most homeowners assume it’s time for a replacement. But here’s the truth: most vacuum problems come down to worn or clogged parts that cost a fraction of a new machine to fix. Understanding a Shark vacuum parts diagram is like having a schematic for any other household appliance, it shows you exactly what’s inside, how components connect, and which pieces you need to order when something fails. Whether you’re dealing with a lost brush roll or a cracked dust cup, learning to read these diagrams turns a frustrating breakdown into a manageable repair.
Key Takeaways
- A Shark vacuum parts diagram is an essential troubleshooting tool that shows exact component locations, part numbers, and connections, helping you identify which specific part needs replacement instead of guessing.
- Shark vacuum models use different parts across product lines (upright, canister, stick, and robot), making it critical to verify the correct model number before ordering replacement parts to avoid compatibility issues.
- Filters are the most frequently replaced components; foam pre-motor filters should be washed monthly, while HEPA post-motor filters typically require replacement every 6–12 months depending on usage and household conditions.
- Understanding the brush roll, hose, drive belt, and dust cup assembly through the parts diagram enables you to diagnose issues systematically by tracing airflow or mechanical pathways rather than replacing parts randomly.
- Always unplug your Shark vacuum and remove the battery (in cordless models) before disassembling, and verify that replacement parts match the part number on the diagram exactly to ensure proper installation and functionality.
- Most Shark vacuum repairs require only basic tools and patience to interpret the diagram’s exploded views and numbered callouts, making DIY maintenance cost-effective when compared to professional service calls.
Why Understanding Your Shark Vacuum Parts Diagram Matters
A parts diagram isn’t just a picture, it’s a troubleshooting roadmap. Instead of guessing which component failed, you can identify the exact part number, verify compatibility with your model, and order the correct replacement before taking anything apart.
Shark produces dozens of models across upright, canister, stick, and robot categories. Each model uses specific parts that often aren’t interchangeable, even within the same product line. The Navigator upright uses different filters than the Rotator, and the Vertex cordless has a unique battery pack. Without the right diagram, you’re buying parts on speculation.
Parts diagrams also prevent over-ordering. When a vacuum loses suction, the problem could be a clogged pre-motor filter (under $10), a torn hose ($25), or a failing motor ($80+). The diagram helps you trace airflow from the nozzle through the dust cup to the exhaust, so you can inspect each component in sequence and pinpoint the weak link.
For anyone who’s comfortable swapping out furnace filters or replacing faucet cartridges, interpreting a vacuum parts diagram is well within reach. The diagrams use exploded views, each part is shown separated from the assembly with a reference number that corresponds to a parts list. No special training required, just patience and attention to detail.
Essential Components in a Shark Vacuum Parts Diagram
Every Shark vacuum, regardless of form factor, shares a core set of components. Knowing what these parts do helps you diagnose issues faster and communicate clearly when ordering replacements.
Filters and Filtration System
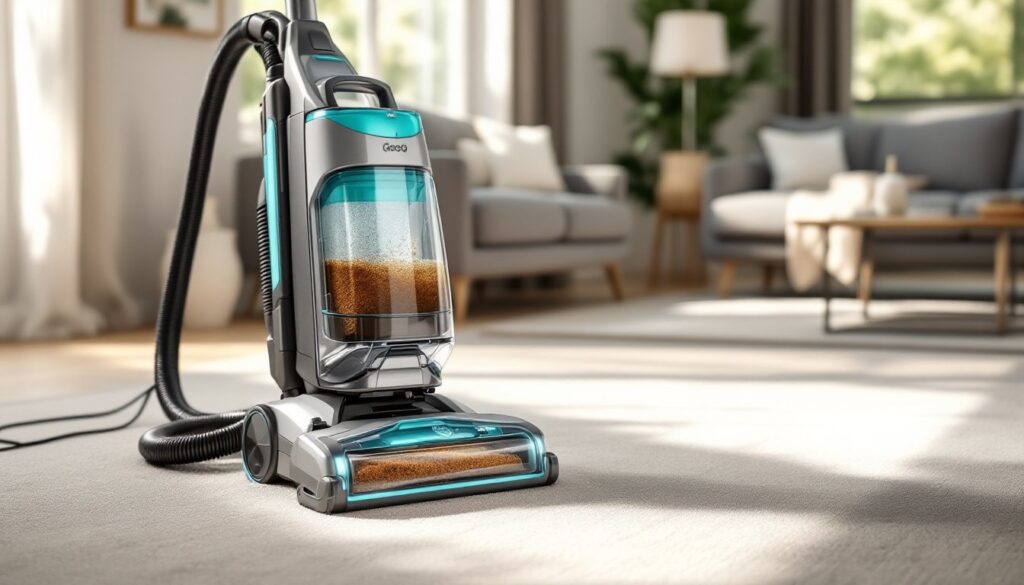
Shark vacuums typically use a two-stage filtration system: a foam pre-motor filter and a HEPA post-motor filter. The pre-motor filter sits in the dust cup assembly and catches larger debris before air reaches the motor. This filter is usually washable and should be rinsed monthly under cold water, then air-dried for 24 hours before reinstalling. Skipping the drying step can lead to mold growth and motor damage.
The HEPA filter, positioned after the motor, traps fine particles and allergens before exhaust. Unlike the pre-motor filter, many HEPA filters are not washable and need replacement every six to twelve months, depending on usage. Check your model’s diagram to confirm whether your HEPA filter is marked as washable or disposable, using water on a non-washable filter destroys its pleated structure.
Some models also include a felt post-motor filter behind the HEPA filter. This secondary filter protects the motor from any particles that bypass the primary filtration. It’s a small, inexpensive part but critical for motor longevity. Many users conducting detailed appliance maintenance emphasize regular filter replacement as the top factor in extending vacuum lifespan.
Brush Roll and Floor Nozzle Assembly
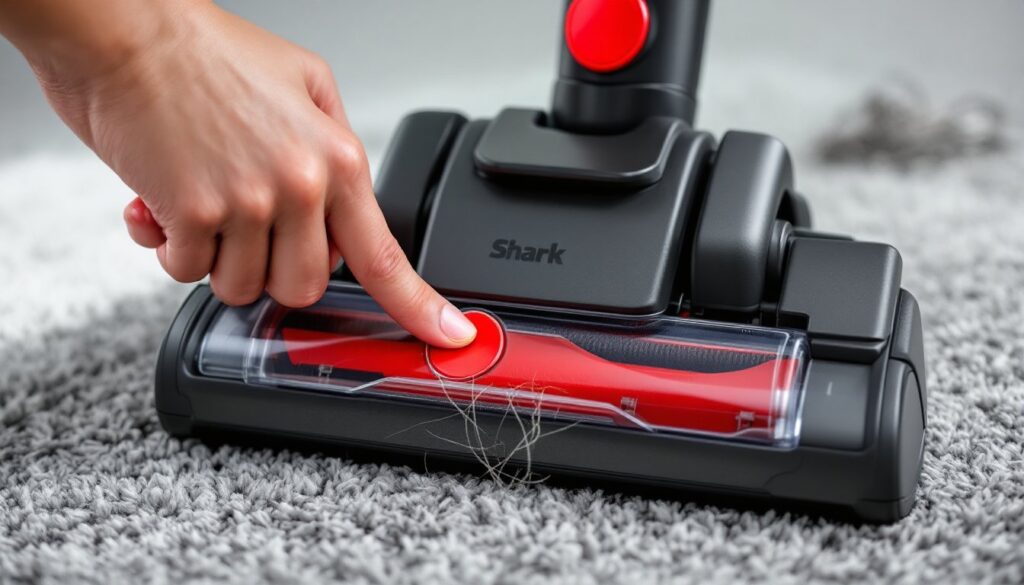
The brush roll (also called a beater bar or agitator) is the rotating cylinder at the base of the vacuum head. It’s driven by a dedicated motor in upright models or a belt system in some older canister units. The brush roll uses stiff bristles or silicone fins to agitate carpet fibers and lift embedded dirt into the suction path.
Over time, hair and fibers wrap around the brush roll, creating resistance that can trip the motor’s thermal cutoff or snap the drive belt. Most Shark models feature tool-free brush roll access, a tab or latch releases the bottom plate so you can pull the roll out for cleaning. Reference your parts diagram to locate the release mechanism: forcing it can crack the plastic housing.
The floor nozzle assembly includes the brush roll chamber, the suction opening, and often a hard floor/carpet switch that adjusts brush roll engagement. If your vacuum pushes debris forward instead of picking it up, check whether the nozzle is set to the correct floor type. The parts diagram shows how the switch interacts with the brush roll drive, understanding this linkage helps you diagnose whether the issue is user error or a broken component.
How to Find the Right Parts Diagram for Your Shark Model
Shark doesn’t use a universal parts catalog. You’ll need your specific model number, which is stamped on a label located on the main body or under the dust cup. The model number typically starts with a letter combination (NV, UV, AZ, IZ, RV) followed by a numeric code, for example, NV752 or AZ1002.
Once you have the model number, visit Shark’s official parts and accessories page. Enter the model number in the search field, and the site will pull up a list of available parts with a corresponding diagram. The diagram is usually an interactive PDF or web image where you can click each component to see its part number, description, and current price.
If Shark’s site doesn’t host the diagram (some older or discontinued models aren’t fully supported), third-party parts retailers like eVacuumStore, PartSelect, and VacuumDirect maintain extensive diagram libraries. These sites often provide more detailed exploded views than the manufacturer’s page. For those tackling step-by-step repair projects, these third-party diagrams can be invaluable.
Important: Verify that the part number matches your model exactly. A part that looks identical might have a different internal dimension or mounting tab. Cross-reference the part number on the diagram with the number on Shark’s official parts list or the retailer’s compatibility chart before purchasing.
Common Shark Vacuum Parts That Need Replacement
Certain parts wear out predictably and are worth keeping on hand if you use your vacuum frequently.
Filters are the most common replacement. As mentioned, foam pre-motor filters last about three to six months with regular washing, but they eventually lose density and should be replaced when they no longer spring back after drying. HEPA filters degrade faster in homes with pets or high dust levels.
Hoses and gaskets develop cracks or tears, especially at bend points and connection collars. A split hose kills suction immediately. Inspect the hose by running your hand along its length while the vacuum is running, you’ll feel air escaping from any cracks. Replacement hoses are model-specific: the diameter and connector type must match.
Brush rolls wear down or break. Pet hair can melt onto the roll if the motor overheats, and hard debris can crack the bristle strips. Some models use a removable brush roll insert that snaps out for cleaning, while others require unscrewing the end caps. The parts diagram clarifies which style you have.
Drive belts (in models that use them) stretch or snap. If the brush roll spins freely by hand but doesn’t turn when the vacuum is on, the belt has likely failed. Belts are cheap, usually under $8 for a two-pack, but you need the exact width and length for your model.
Dust cup latches and seals crack with repeated use. A broken latch means the dust cup won’t lock in place, and a worn seal allows dust to bypass the filtration system. Both parts are available separately and install with basic hand tools.
Step-by-Step Guide to Using Parts Diagrams for DIY Repairs
Here’s how to turn a parts diagram into a successful repair without a service call.
1. Document the problem. Write down exactly what’s wrong: loss of suction, unusual noise, brush roll not spinning, etc. This narrows the list of suspect parts.
2. Pull up the diagram. Enter your model number and locate the interactive or downloadable parts diagram. Print it if you’re working away from a screen.
3. Trace the airflow or mechanical path. For suction issues, follow air from the nozzle through the hose, dust cup, filters, and motor. For mechanical problems, trace the path from the motor to the brush roll. The diagram shows each junction and seal.
4. Inspect components in order. Don’t skip steps. Check filters before assuming the motor is bad. Remove the hose and look for clogs before ordering a new one. Many DIY repairs fail because the diagnosis was rushed.
5. Identify the part number. Once you’ve found the faulty component, match it to the numbered callout on the diagram. Write down the part number and description.
6. Order and verify. Purchase from Shark’s site, an authorized retailer, or a trusted third-party vendor. When the part arrives, compare it visually to the one you’re replacing before starting disassembly.
7. Work clean and organized. Use a clean workspace. Lay out screws and small parts in the order you remove them. Shark vacuums use a mix of Phillips screws and snap-fit tabs, forcing a tab can crack the housing. The parts diagram often indicates which fasteners are used at each location.
8. Reassemble and test. Follow the diagram in reverse. Make sure all seals and gaskets are seated properly. Test the vacuum before reinstalling all covers, this saves time if you need to adjust something.
For more complex repairs involving motor removal or internal wiring, many DIY tutorial sites offer model-specific video walkthroughs that complement the static diagrams. If you’re uncomfortable with electrical components or if the vacuum is still under warranty, contact Shark support or a certified repair shop.
Safety note: Always unplug the vacuum before opening any panels or removing parts. Cordless models have lithium-ion batteries that should be removed before disassembly to prevent accidental startup. Wear safety glasses when working near the brush roll chamber, trapped debris can spring out when you release tension.