Table of Contents
ToggleNo trenching for power lines. No crawling through the attic to fish wires. Solar-powered security cameras have changed how homeowners approach perimeter monitoring, offering true wireless operation where traditional wired cameras can’t reach. Whether you’re covering a detached garage, monitoring a rural driveway, or keeping an eye on backyard sheds, these self-sustaining cameras deliver continuous surveillance without the headache of electrical hookups. They’re not perfect for every situation, shaded locations and extreme weather test their limits, but for most residential applications, they’ve become a practical, permit-free security upgrade that any DIYer can tackle in an afternoon.
Key Takeaways
- Solar power security cameras eliminate the need for trenching power lines or running electrical wires, enabling installation on detached structures and remote locations without permits or electrician costs.
- A solar-powered security camera combines a rechargeable battery (5,000–10,000 mAh) with a 2W–5W photovoltaic panel that maintains charge through a charge-and-maintain cycle, requiring only 3–4 hours of daily sunlight.
- Battery capacity should be at least 6,000 mAh for temperate climates and 10,000 mAh or higher for regions with long overcast periods, while panel wattage should match your climate to ensure year-round performance.
- Optimal solar camera placement requires south-facing (or east/west) mounts at 8–10 feet high with strong Wi-Fi signal and unobstructed sunlight exposure to maximize energy capture and coverage.
- Prioritize cameras with 2K+ resolution, AI-based motion detection, and local storage options (microSD) to reduce false alerts and avoid recurring subscription costs.
- Pre-installation testing—charging indoors, connecting via app before mounting, and temporarily positioning to verify signal and sunlight—prevents installation mistakes and ensures reliable long-term operation.
What Is a Solar Power Security Camera and How Does It Work?
A solar-powered security camera combines a rechargeable lithium-ion battery (typically 5,000–10,000 mAh) with a small photovoltaic panel that continuously tops off the charge during daylight hours. The panel, usually rated between 2W and 5W, converts sunlight into DC current, which feeds directly into the battery management system.
Most units operate on a charge-and-maintain cycle: the camera draws power from the battery for recording, motion detection, and wireless transmission (Wi-Fi or 4G LTE), while the solar panel replenishes energy whenever sufficient light is available. On a sunny day, a 3W panel can generate enough power to fully offset typical camera consumption of 2–4 watts during active recording.
The cameras themselves function like standard wireless security cameras, using PIR (passive infrared) or AI-based motion detection to trigger recording. Video streams over Wi-Fi to a cloud server or local storage (microSD card), accessible via smartphone app. The solar component simply eliminates the need for wired power, making installation location-independent as long as the panel receives 3–4 hours of direct or partial sunlight daily.
Key Benefits of Choosing Solar-Powered Security Cameras
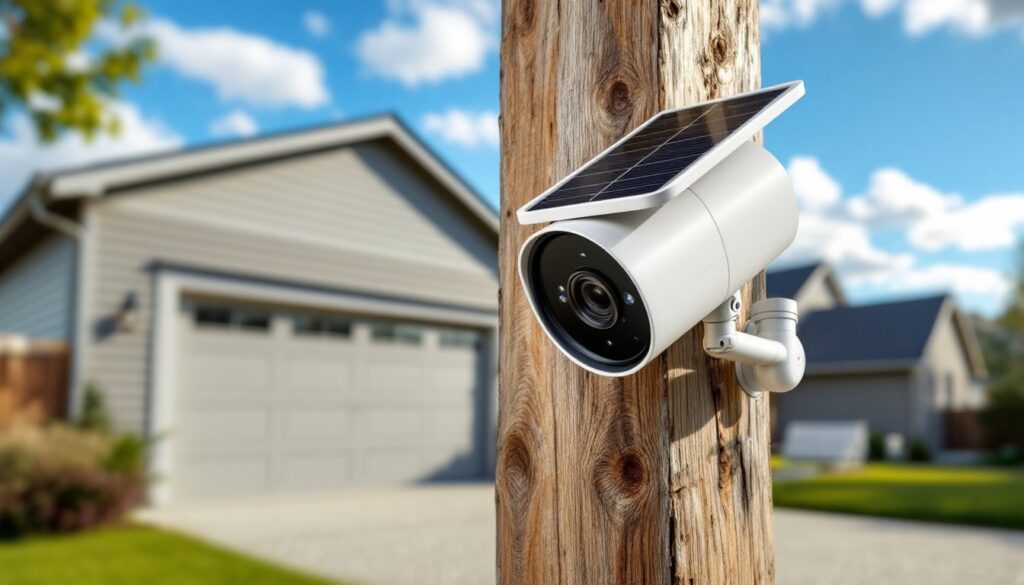
True wireless flexibility tops the list. Unlike plug-in cameras tethered to outlets or PoE (Power over Ethernet) systems requiring network cable runs, solar cameras mount anywhere with decent sun exposure, fence posts, pole mounts, shed roofs, or standalone posts mid-property. There’s no electrician needed, no permit required for low-voltage wiring, and no meter impact.
Lower long-term costs also matter. After the upfront hardware purchase ($80–$250 per camera), operating expenses drop to nearly zero. No ongoing electricity draw, no transformer hum adding phantom load. For rural properties or detached structures far from the main electrical panel, avoiding a 100+ foot trench and conduit run saves hundreds in labor and materials alone.
Resilience during power outages gives solar cameras an edge over wired systems. When the grid goes down, these units keep recording as long as the battery holds charge, typically 2–7 days depending on activity level and weather. That makes them particularly valuable for vacation properties, construction sites, or homes in areas prone to storm-related blackouts.
Finally, ease of repositioning shouldn’t be overlooked. If you need to shift coverage from the driveway to the side yard, it’s four screws and a ladder. No rewiring, no patching drywall, no calling an electrician. That adaptability is a real advantage as landscaping, fencing, and security priorities evolve.
Essential Features to Look for When Shopping
Not all solar security cameras are built equally. Knowing which specs matter, and which are marketing fluff, keeps you from overpaying or under-delivering on coverage.
Battery Capacity and Solar Panel Efficiency
Battery capacity (measured in mAh or Wh) determines how many days the camera operates without sun. Look for at least 6,000 mAh in temperate climates: 10,000 mAh or higher if you face long stretches of overcast weather or winter in northern latitudes. Some models, like the Eufy 4G LTE Cam S330, pair large batteries with efficient solar panels to maintain charge even in less-than-ideal conditions, as noted in tests conducted by home tech reviewers over extended periods.
Panel wattage should match your climate and camera power draw. A 3W panel works fine in Arizona: Minnesota might need 5W to compensate for shorter days and lower sun angles in winter. Check whether the panel is adjustable or fixed, tilt and swivel mounts let you optimize angle seasonally, which can increase energy capture by 20–30%.
Cold-weather battery performance drops across all lithium chemistries. If you’re in USDA Zone 5 or colder, verify the operating temperature range (many quit charging below 32°F). Some higher-end units include battery heaters or insulated housings to extend winter performance.
Video Quality, Night Vision, and Smart Detection
Resolution starts at 1080p, but 2K or 4K sensors provide noticeably better detail for identifying faces, license plates, or package thieves at 15+ feet. Frame rate matters less unless you’re capturing fast motion: 15–20 fps is adequate for most residential use.
Night vision comes in two flavors: infrared (IR) or color night vision via spotlight. IR is stealthier and more power-efficient, giving clear black-and-white footage to 25–30 feet. Color night vision uses an LED spotlight or starlight sensor, which draws more battery but delivers full-color images, helpful for identifying clothing or vehicle color. Some cameras toggle between modes based on detected motion.
Smart detection (person, vehicle, pet, package) reduces false alerts from swaying branches or passing animals. AI-based detection runs locally on better cameras, avoiding cloud subscription fees. Look for customizable activity zones so you’re not notified every time a car passes on the street beyond your property line.
Two-way audio lets you speak through the camera via smartphone app, useful for greeting delivery drivers or warning off prowlers. Verify the speaker is loud enough (85+ dB) to be heard clearly outdoors.
Local and cloud storage options matter. A microSD slot (supporting 128GB or 256GB) gives you free, private recording. Cloud storage adds remote access and off-site backup but often requires a monthly subscription ($3–$10/month). Many manufacturers bundle 30–90 days free to start.
Best Locations to Install Your Solar Security Camera
Placement makes or breaks solar camera performance. Start by identifying areas that need coverage, entry points, driveways, side gates, sheds, and then confirm each spot meets solar and connectivity requirements.
Sunlight exposure is non-negotiable. The panel needs 3–4 hours of direct or bright indirect sunlight daily to maintain charge. South-facing mounts (in the Northern Hemisphere) capture the most consistent energy year-round. East or west exposures work if unobstructed: north-facing spots or heavy tree shade will drain the battery faster than the panel can replenish it.
Mounting height should be 8–10 feet to balance coverage area with tamper resistance. Too low and the camera’s in easy reach of intruders: too high and facial detail suffers. Use a pole mount, fascia bracket, or fence post cap depending on the structure. For detached sheds or outbuildings with metal roofing, a gable-end mount works well and keeps the panel angled optimally.
Wi-Fi signal strength at the install location needs to be verified before you drill anything. Walk out with your phone, check signal bars, or use a Wi-Fi analyzer app. If you’re bordering on weak signal (one or two bars), consider adding a Wi-Fi range extender or opting for a 4G LTE camera that uses cellular data instead. Leading smart home resources like CNET and Digital Trends routinely test signal performance for outdoor cameras in real-world conditions.
Obstructions and field of view also factor in. A camera with a 130–140-degree viewing angle needs to be positioned so landscaping, roof overhangs, or porch columns don’t block critical zones. Use painter’s tape to mark potential mounting spots, then check the view from ground level before committing.
Avoid metal siding or dense stucco walls directly behind wireless cameras, they can interfere with signal transmission. If you must mount on metal, use a standoff bracket to create 2–3 inches of clearance.
DIY Installation: Step-by-Step Setup Guide
Installing a solar security camera is straightforward, but taking the time to prep and test before final mounting prevents do-overs.
Tools and materials you’ll need:
- Cordless drill/driver with bits matching included anchors (usually 3/16″ masonry bit for brick/stucco, or standard wood bits for fascia)
- Ladder rated for your working height plus 3 feet
- Pencil and level for marking
- Smartphone with manufacturer’s app installed and account created
- Included mounting hardware (bracket, screws, anchors, cable)
- Optional: stud finder if mounting to wood siding or trim
PPE: Safety glasses (for overhead drilling), work gloves.
Step-by-step process:
-
Charge the camera fully indoors before installation. Most units ship partially charged: a full charge ensures the camera stays online during initial setup and firmware updates.
-
Download the app and add the camera while it’s still inside. Follow the QR code pairing process, connect to your Wi-Fi network, and verify live video feed. Update firmware if prompted, this can take 10–15 minutes.
-
Test mounting location for signal and sun. Temporarily position the camera (no screws yet) using tape or a helper. Check the app for signal strength and view the live feed. Note the panel’s orientation and confirm it’ll receive sun for most of the day.
-
Mark and drill mounting holes. Hold the bracket in place, use a level to ensure it’s plumb, and mark screw locations with a pencil. For wood surfaces, drill pilot holes slightly smaller than the screw diameter. For brick, stucco, or concrete, drill with a masonry bit and insert plastic anchors flush with the surface.
-
Secure the mounting bracket with the provided screws. Tighten firmly but don’t over-torque, especially in wood or fiber-cement siding, stripped holes mean starting over with a new anchor point.
-
Attach the camera and adjust the angle. Most models use a ball-joint or swivel bracket. Aim the lens to cover your target area and angle the solar panel toward the sun. Lock the adjustment screws snugly.
-
Run a test recording and motion event. Walk through the camera’s field of view, verify motion alerts arrive on your phone, and review recorded clips. Adjust detection sensitivity and activity zones in the app as needed.
-
Cable management (if the solar panel is separate): Route the cable along the mounting surface using included clips or UV-resistant cable ties. Avoid sharp bends or stress points that could damage the wire over time.
Common mistakes to avoid: Don’t skip the pre-mount app setup, it’s much easier troubleshooting connectivity issues at ground level than on a ladder. Don’t mount in full shade hoping “it’ll be fine”, it won’t. And don’t assume the included anchors fit your siding: test one before drilling all the holes.
If you’re mounting above 12 feet or on a steep roof pitch, get a second person to stabilize the ladder. This isn’t the project to push your luck on fall safety.